2020 BGG rank #21526

Everest 1924

1 player 5–20 min Ages 8+ 1.2/5 complexity 5.5/10 rating

About this game

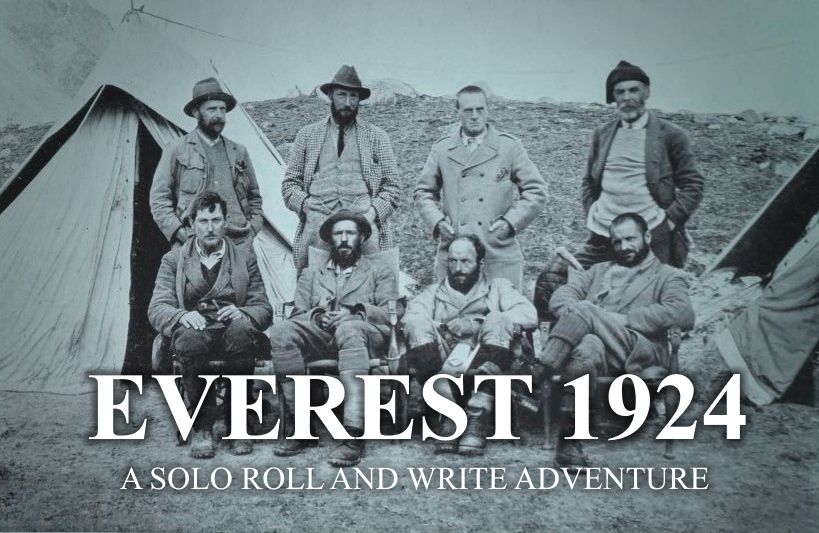
This is a solo game of determination against increasingly demanding odds. You will attempt to ascend Mount Everest by rolling and manipulating dice to try and beat increasingly challenging scores. Playing the game is easy - succeeding is not. All you need to play is a copy of the game sheet, pen/pencil and six D6. Game time will be around 15 minutes. In June 1924, George Mallory and Andrew Irvine began their ascent to the peak of Mount Everest, hoping to be first to ever do so. It was to be a journey from which neither man would return alive, and whether or not they were successful remains a mystery to this day. When asked why he was planning to undertake such a dangerous and gruelling endeavour Mallory had replied simply “because it’s there”.

What it feels like

Solo / Solitaire Game Dice Rolling Push Your Luck Paper-and-Pencil Re-rolling and Locking Exploration Dice Sports Print & Play

Explore these mechanics in Cardboard

Start an original prototype from reusable design patterns—not this game's content.

Open mechanics workbench

Game intelligence

Learn the game

100% knowledge coverage

Setup

1. Take one game sheet and a pen or pencil. 2. Gather six six-sided dice (you will begin using only three). 3. Place your starting position at the bottom-left square of the grid (base camp). Draw a circle there to mark it. 4. Note that you have four tent symbols (camps) available. 5. You begin with three dice; additional dice are unlocked as you ascend into specific rows.

Turn flow

Each turn, roll all dice currently available to you (starting with three). Review your result and attempt to form a straight (an ascending sequential run of two or more dice) whose value meets or exceeds the target number of the row directly above your current position. You may then: (1) Combine dice to adjust values, (2) Optionally carry out one reroll of any chosen dice (including previously discarded ones), and (3) Combine dice again after the reroll. Based on your final result: if you meet the target, ascend one square (up and right); if you do not meet the target without having rerolled, move right one square in your current row; if you do not meet the target after rerolling, fall one square (down and right). On your first ascent into a new row, you may optionally make camp. The game ends when you reach row 36, voluntarily abandon, or have no empty square to move into.

Scoring and victory

Calculate: (target number of highest row reached × 2) minus (total circles marked, including start) plus (5 × unused camps, only if the summit row 36 was reached). Compare final score to the historical leaderboard tiers. Target score: Above 70 points (Kilian Jornet tier) is the highest achievement; reaching row 36 (summit) is the primary victory condition Scoring sources: Target number of highest row reached × 2, Minus 1 point per circle marked (including starting square), Plus 5 points per unused camp (summit only)

Source: Rulebook

Rules to know

The most useful rules for getting a first game right.

General

A straight is two or more dice in ascending sequential order; its value is the highest die × number of dice in the straight.

A 'straight' is a series of two or more dice showing ascending, sequential face values. The total value of the straight equals the face value of the highest die multiplied by the number of dice forming the straight. Only the dice comprising the straight count; duplicate or non-sequential dice are ignored (unless you choose to combine or reroll them). Example: ⚂⚃⚄ = 5×3 = 15. Example: ⚄⚅ = 6×2 = 12. Example: from a roll of 1,3,4,5,6,6 you can extract the straight 3,4,5,6 = 6×4 = 24.

Setup

Players begin the game with three dice.

At the start of the expedition you roll three six-sided dice per turn. Additional dice are unlocked as you ascend into specific rows (see unlock_extra_dice). You never have more than six dice available.

Setup

The player starts at base camp — the bottom-left square of the grid.

Draw a circle in the bottom-left square of the mountain grid to mark your starting position (base camp). This square counts as a marked circle and is included in the final penalty count.

Turn structure

Each turn, roll available dice and attempt a straight meeting the target of the row above; success moves you up-right, failure moves you right.

On your turn, roll all dice currently available to you. Attempt to form a straight (see straight_definition) with a total value equal to or greater than the target number shown to the left of the row directly above your current position. If successful: move up and to the right by one square — draw a circle in that square and a line connecting it to your previous location. If unsuccessful (without a reroll attempt): move to the right by one square within your current row — draw a circle there and a connecting line. You should never cross an existing route line or revisit a previously marked square.

Restriction

You may never cross your own route line or revisit a square already marked with a circle.

Your route is represented by circles (positions) connected by lines. At no point during the game may you move into a square that already has a circle, nor may any movement cause your route line to cross an existing segment of your route. Violating this ends the game (your party perishes).

Special

Before (and after) a reroll, you may combine dice to adjust their values using two methods.

After rolling (and again after any reroll), you may combine dice using two methods as many times as you like: (1) Matching pair: if two dice show the same value, discard one and increase or decrease the remaining die's value by 1. (2) Any pair: take any two dice, add or subtract their values, discard one die, and set the other to the combined result. Constraints: a die's value cannot be changed to higher than 6 or lower than 1. Discarded dice cannot be reused in further combining steps — however, discarded dice CAN be selected for a reroll (see rerolling_dice).

Special

Once per turn, after your initial roll and optional combining, you may reroll any dice (including previously discarded ones); failure after a reroll causes you to fall.

If your dice after the initial roll (and optional combining) are still insufficient, you may choose to perform one reroll. Select any dice you wish to reroll — this may include dice that were previously discarded during the combining step — and reroll them all simultaneously. After the reroll, you may again combine dice (all dice, whether rerolled or not, are eligible). If your straight now meets the target, you ascend normally. If it still does not meet the target, you do not ascend AND you fall: move right and down by one square, draw a circle, and draw a connecting line. Rerolling is optional; the fall penalty makes it a significant risk.

Special

Failing after a reroll causes you to fall: move right and down one square.

If you chose to reroll and still cannot form a straight meeting the target after combining, you fall. Move right by one square and down by one row, draw a circle in that square, and draw a line connecting it to your previous location. If the destination square is not empty, or moving there would require crossing an existing route line (e.g., due to a recently placed camp), the game ends immediately and your party perishes.

Strategy briefing

When to reroll

Rerolling carries a severe downside: failure after a reroll sends you down and right, costing extra squares and potentially triggering game-ending situations. Only reroll when the potential gain (ascending a difficult row) outweighs the risk of falling, especially in later rows where your route is more constrained.

Saving camps for high rows

Making camp resets your horizontal position far left, giving you more squares to work with before running out of room in a row. Save camps for the highest, most difficult target rows (closest to 36) where you will need the most attempts to succeed. Using all camps early wastes the summit bonus (+5 per unused camp at row 36).

Prioritising unlocking rows

Ascending into rows with targets 12, 16, and 22 (blue backgrounds) permanently adds a die to your pool. More dice dramatically increase your ability to form longer, higher-value straights. Prioritise reaching these rows as early as possible, as the extra die is retained even if you fall back.

Combining to fix near-straights

Before committing to a reroll, always explore combining options. Two dice showing the same value can shift one up or down by 1 to extend a straight. Any two dice can be added or subtracted to fill a gap — but remember the cap of 1–6. Effective combining can turn a failed roll into a success without triggering the fall risk of a reroll.

Minimising circles for scoring

Every circle you mark subtracts 1 point. Moving right without ascending (due to failing without a reroll) still costs a circle and uses up a square in your row. Being aggressive about ascending quickly (even accepting a low score on a row) can reduce total circles marked, but risks triggering difficult positions if you fall.

Managing route geometry to avoid getting trapped

Your route can block future movement. Making camp creates a long leftward line; if you then fall, that line may block your fall destination, immediately ending the game. Always visualise possible fall destinations before making camp or taking risky rerolls.

Common questions and edge cases

I combined two dice and discarded one. Can I include that discarded die in my reroll?

Yes. Discarded dice cannot be reused in further combining steps, but they are explicitly eligible to be selected for the optional reroll. Once rerolled, they become live dice and can participate in the post-reroll combining phase.

I rerolled and failed, but there is no empty square below and to the right for me to fall into. What happens?

The game ends immediately and your party perishes. Whenever you are required to move but no empty square is available (or the move would cross an existing route line), the game ends regardless of the cause. Proceed to final scoring from your current position.

I recently made camp and my route creates a line. If I fall, would I cross that line?

If falling (moving right and down) would cause your route line to cross an existing segment — such as one created when making camp by moving far left — then the fall cannot be completed safely, and the game ends immediately (your party perishes).

I unlocked an extra die by ascending into row 12, but then fell back below row 12. Do I keep the extra die?

Yes. Extra dice are unlocked permanently. Even if you fall below the unlocking row (12, 16, or 22), you retain the additional die for the rest of the expedition.

I've been in a row before and am ascending into it again after falling. Can I make camp now?

No. Making camp is only available the very first time you ascend into a given row. If you have previously entered that row (even if you later fell below it), you cannot make camp when re-entering it.

Does my starting base camp square count as one of the circles I subtract in final scoring?

Yes. The starting square is explicitly marked with a circle and counts in the final scoring penalty of 1 point per circle marked.

I reached row 36 but used all four of my camps. Do I get any bonus points?

No bonus points. The +5 per unused camp bonus applies only if you reached the summit (row 36), but requires unused camps to generate any points. With zero unused camps, the bonus contributes 0.

I rolled 1, 3, 4, 5, 6, 6. What is my best straight?

You can form the straight 3, 4, 5, 6 — four sequential ascending dice. Its value is 6 × 4 = 24. The 1 and the duplicate 6 are simply ignored when calculating the straight. You do not need to use all dice.

I have a 5 and a 4. Can I add them to make a 9?

No. Die values cannot exceed 6. Adding 5+4=9 is not permitted. You could subtract instead (5−4=1), giving you a 1 while discarding the other die, or use the matching-pair method if applicable.

Can I abandon the expedition at any point during my turn?

No. Voluntary abandonment can only be declared after marking a circle in a new square (i.e., after completing a move) but before rolling any dice for that new turn. You cannot abandon mid-roll or after rolling.

Ask About This Game

Similar games