2008 BGG rank #11261

South Mountain

1–6 players 360 min Ages 0+ 3.6/5 complexity 5.6/10 rating

About this game

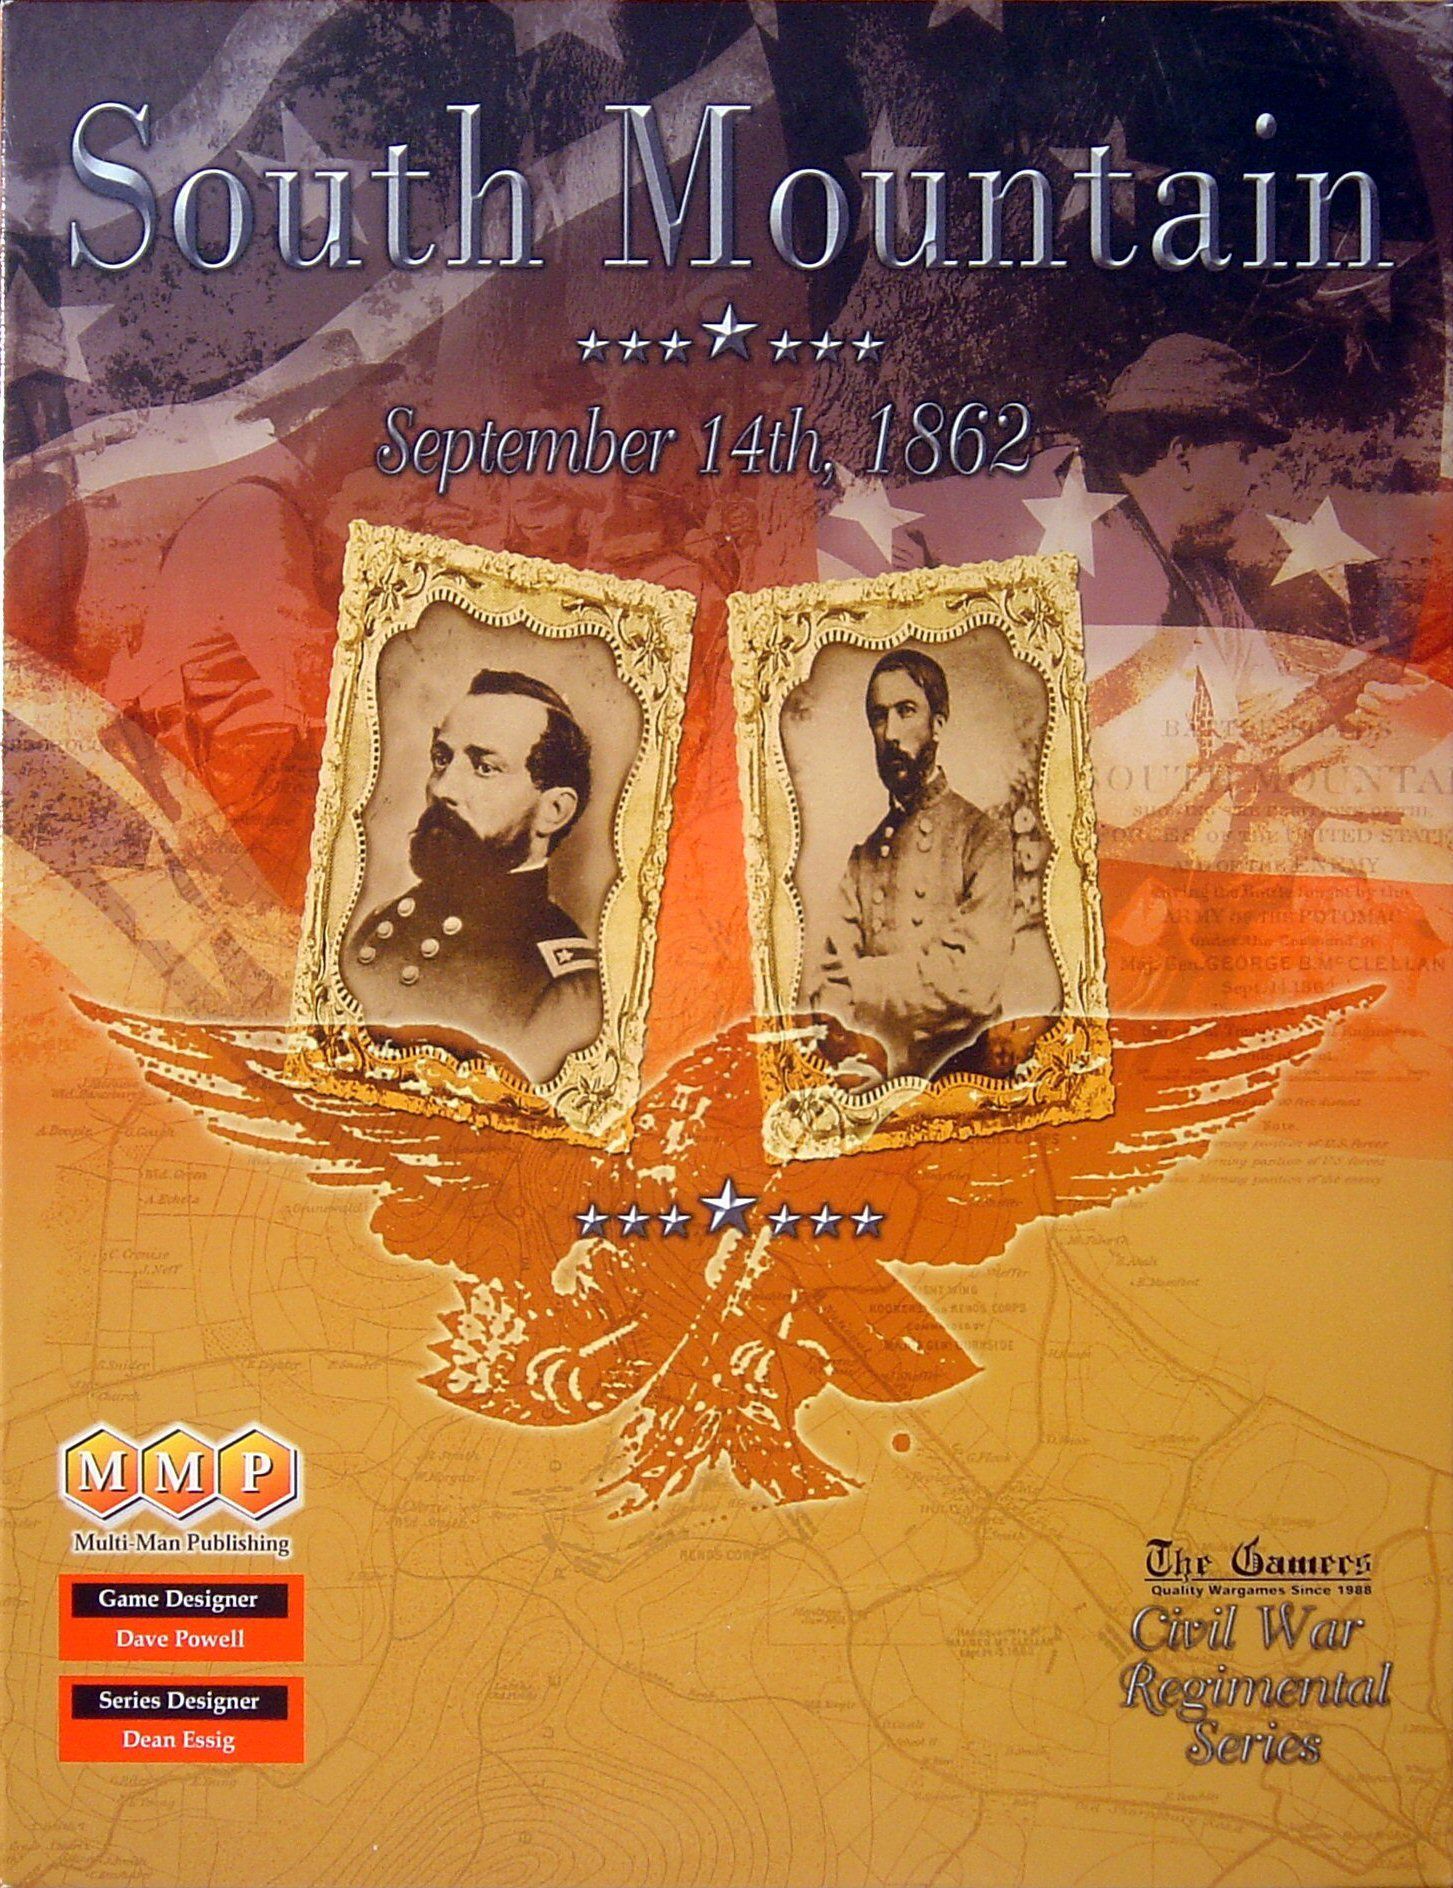
(from MMP website:) On September 14th, 1862, the rebel division of D.H. Hill was surprised and attacked by Ambrose Burnside's Wing of the Army of the Potomac. Hill's men held out all day against a rising tide of Federal troops from both the 1st and 9th Corps and were saved only by the late arrival of D.R. Jones and Hood's divisions. Despite the fact that it was a rather sharp defeat for the rebels, Hill remained justifiably proud of the fight his men managed for 12 long hours atop South Mountain. They had given Lee the time he needed to concentrate his army in the face of a suddenly aggressive Federal force. South Mountain is the fourth game in the Civil War, Regimental Series. With one map and a manageable number of counters, it is the first game in the series to offer a full, intense, battle that is playable in an evening. And re-playability is very high, given the variable arrival of some key Rebel forces and the application of Confederate and Union Random Events. Contents: 1 22"x32" mapsheet (sneak peek) 2 countersheets Civil War Brigade Series rules Regimental Subsystem rules South Mountain game specific rules 2 Charts & Tables booklets Player Aid Card Two dice Unit Scale: Regiments and Batteries Hex Scale: 100 yards/hex Players: 2 and up Complexity: Medium South Mountain creation team: Designer: Dave Powell Series Designer & artwork: Dean Essig Development: Bob Cloyd

What it feels like

Hexagon Grid Wargame American Civil War Civil War

Game intelligence

Learn the game

100% knowledge coverage

Setup

Each scenario has its own dedicated setup. Units are placed on specific hexes as listed in the scenario's Union and Confederate information sections. Reinforcements, if any, are noted with the turn/hex they enter on. Artillery ammunition limits are set per scenario (Unlimited or None). Orders are assigned to each side before play begins. Refer to each scenario's General Information for First Turn, Last Turn, and Game Length. Scenario 1.2 – Morning Fox: - First Turn: 8:30 a.m., Sept 14th | Last Turn: 11:30 p.m. | 12 turns - Union (1/K/9): 23 OH at 10.17, 12 OH/Scammon at 11.17, 30 OH at 12.16, 1st OH Lt (arty) at 11.15, Cox at 10.15. Artillery Ammo: Unlimited. Reinforcements: 9:15 at hex 11.14 — 2/K/9 (minus Chicago Dragoons, Simmonds Arty). Orders: Attack with right flank along the road, take Fox's Gap. - Confederate (G/dH): 5 Va Cav at 13.24 (Independent), Pelham a (2) at 14.23, 5 NC at 15.24, 12 NC/Garland at 16.22, 23 NC at 17.22, 20 NC at 20.23, 13 NC at 21.24, Bondurant (Arty/dH) at 18.22. Artillery Ammo: None. Reinforcements: None. Orders: Defend the road to Fox's Gap. - Victory: Side that controls hex 19.23. Scenario 1.3 – Forging Iron: - First Turn: 6:00 p.m., Sept 14th | Last Turn: 7:45 p.m. | 8 turns - Union (4/1/1): 19 IN at 27.21, 2 WI at 28.20, 7 WI at 29.20, 6 WI at 30.19, B/4th US Artillery at 27.18. Artillery Ammo: (not specified). Orders: Attack up the National Road towards Turner's Gap. - Confederate (C/dH): 13 AL at 32.24, 27 GA at 33.24, 6 GA at 33.23, 23 GA at 34.22, 28 GA at 34.21, Lane (Arty Res) at 36.24. Artillery Ammo: None. Reinforcements: None. Orders: Defend the road to Turner's Gap. - Victory: Side that controls hex 35.24.

Turn flow

Each scenario runs for a fixed number of turns representing historical time intervals on September 14th, 1862. On each turn, players execute orders with their units — Union forces generally attack toward objective hexes while Confederate forces defend key road and gap hexes. Players manage artillery ammunition (some scenarios grant unlimited ammo, others grant none), move units across the hex grid, resolve combat, and check for reinforcement arrivals at designated hexes on designated turns. Victory is determined by which side controls the scenario's objective hex at game end.

Scoring and victory

Scenario-based: the side controlling the designated objective hex at the end of the final turn wins the scenario. Target score: Control the objective hex (hex 19.23 in Scenario 1.2; hex 35.24 in Scenario 1.3) by the last turn Scoring sources: Control of scenario victory hex at game end

Source: Rulebook

Rules to know

The most useful rules for getting a first game right.

Setup

Scenario 1.2 Morning Fox general information: 12 turns from 8:30 a.m. to 11:30 p.m., September 14th.

Scenario 1.2 (Morning Fox) begins on the first turn at 8:30 a.m. September 14th and ends on the last turn at 11:30 p.m. September 14th. The scenario lasts 12 turns total. Cox's division attempts to take Fox's Gap before Confederate reinforcements arrive.

Setup

Scenario 1.2 Union (1/K/9) unit placement and orders.

Union forces (Brigade 1/K/9) set up as follows: 23 OH (Indiana) at hex 10.17; 12 OH (Scammon) at hex 11.17; 30 OH at hex 12.16; 1st OH Light Artillery at hex 11.15; Cox (commander) at hex 10.15. Union artillery ammunition is Unlimited. Union orders: Attack with right flank along the road and take Fox's Gap.

Setup

Scenario 1.2 Union reinforcements: 2/K/9 arrives at 9:15 at hex 11.14.

Union reinforcements for Scenario 1.2: At the 9:15 a.m. turn, 2/K/9 (minus the Chicago Dragoons and Simmonds Artillery) enters the map at hex 11.14. These units have no artillery ammunition. There are no other Union reinforcements.

Setup

Scenario 1.2 Confederate (G/dH) unit placement and orders.

Confederate forces (Garland's Brigade / Division of Hill — G/dH) set up as follows: 5 VA Cavalry (Independent) at hex 13.24; Pelham artillery detachment 'a' (strength 2) at hex 14.23; 5 NC at hex 15.24; 12 NC with Garland (commander) at hex 16.22; 23 NC at hex 17.22; 20 NC at hex 20.23; 13 NC at hex 21.24; Bondurant (Artillery/dH) at hex 18.22. Confederate artillery ammunition: None. Confederate orders: Defend the road to Fox's Gap. No Confederate reinforcements.

Endgame

Scenario 1.2 victory condition: control hex 19.23 at game end.

In Scenario 1.2 (Morning Fox), the side that controls hex 19.23 at the end of the last turn (11:30 p.m.) wins the scenario. Hex 19.23 represents Fox's Gap.

Setup

Scenario 1.3 Forging Iron general information: 8 turns from 6:00 p.m. to 7:45 p.m., September 14th.

Scenario 1.3 (Forging Iron) begins on the first turn at 6:00 p.m. September 14th and ends on the last turn at 7:45 p.m. September 14th. The scenario lasts 8 turns total. The Iron Brigade attacks up the National Road to take Turner's Gap, opposed by Colquitt's Georgians.

Setup

Scenario 1.3 Union (4/1/1) unit placement and orders.

Union forces (4th Brigade / 1st Division / 1st Corps — 4/1/1, the Iron Brigade) set up as follows: 19 IN at hex 27.21; 2 WI at hex 28.20; 7 WI at hex 29.20; 6 WI at hex 30.19; B Battery, 4th US Artillery at hex 27.18. Union orders: Attack up the National Road towards Turner's Gap.

Setup

Scenario 1.3 Confederate (C/dH) unit placement and orders.

Confederate forces (Colquitt's Brigade / Division of Hill — C/dH) set up as follows: 13 AL at hex 32.24; 27 GA at hex 33.24; 6 GA at hex 33.23; 23 GA at hex 34.22; 28 GA at hex 34.21; Lane (Artillery Reserve) at hex 36.24. Confederate artillery ammunition: None. Confederate orders: Defend the road to Turner's Gap. No Confederate reinforcements.

Strategy briefing

Union Urgency in Morning Fox

With only 12 turns and Confederate forces already positioned along the road to Fox's Gap, Union players must advance aggressively from the start. The arrival of 2/K/9 at hex 11.14 on the 9:15 turn provides a second wave, but Union players should not rely on this — using the initial 1/K/9 force to pin and pressure Confederate units early is critical.

Confederate Artillery Limitation

Confederate artillery (Bondurant in 1.2, Lane in 1.3) has zero ammunition in both scenarios. Confederate players should position these units for blocking, zone-of-control, or morale purposes rather than counting on fire support. Conversely, Union players in 1.2 enjoy unlimited artillery ammunition and should exploit this asymmetry aggressively.

Depth of Confederate Defense in Morning Fox

Confederate units in Scenario 1.2 are spread across hexes 13.24 through 21.24, providing defense in depth along the road to Fox's Gap. Union players must break through multiple layers rather than simply bypassing the front line, while Confederate players should avoid over-committing forward units that could be flanked.

Speed vs. Strength in Forging Iron

Scenario 1.3 (Forging Iron) lasts only 8 turns, the shortest scenario. The Iron Brigade must cover the distance from hexes 27–30 to objective hex 35.24 rapidly. Confederate units are clustered around hexes 32–34, so Union players must press hard immediately without waiting to consolidate.

Independent Cavalry Screening

The Confederate 5 VA Cavalry at hex 13.24 is an Independent unit and sits forward of the main Confederate line in Scenario 1.2. It can serve as a screening or delaying force to slow Union advance while the main Confederate brigade prepares its defense deeper along the road.

Common questions and edge cases

Union reinforcements (2/K/9) arrive in Scenario 1.2. Do they have artillery ammunition?

No. The reinforcement entry for 2/K/9 in Scenario 1.2 specifies Artillery Ammunition: None, even though the main Union force has Unlimited ammunition. The 2/K/9 units (minus Chicago Dragoons and Simmonds Artillery) arrive at hex 11.14 on the 9:15 turn without any artillery ammunition.

Can Confederate artillery units (e.g., Bondurant in Scenario 1.2, or Lane in Scenario 1.3) fire during the scenario?

No. Confederate artillery ammunition is listed as 'None' in both Scenario 1.2 and Scenario 1.3. Confederate artillery units cannot fire in either of these scenarios regardless of their position or the Union activity.

What happens if both Union and Confederate units occupy the victory hex at the end of the last turn?

The rulebook does not explicitly define this edge case in the provided text. Generally in hex wargames, a contested hex (with both sides present) is not considered controlled by either side, which would mean neither side wins — but players should refer to the full rulebook's combat and control rules for the definitive answer.

Do the Chicago Dragoons and Simmonds Artillery appear anywhere in Scenario 1.2?

No. The Union reinforcement entry explicitly states '2/K/9 (minus Chicago Dragoons, Simmonds Arty)'. These two units are excluded from Scenario 1.2 entirely and do not enter play at any point during this scenario.

What does the '(2)' next to Pelham's artillery unit mean in Scenario 1.2 setup?

The '(2)' denotes the strength value of Pelham's artillery detachment 'a'. It represents the unit's combat or firepower rating, though since Confederate artillery ammunition is None in this scenario, the unit cannot fire regardless of its strength.

Ask About This Game

Similar games